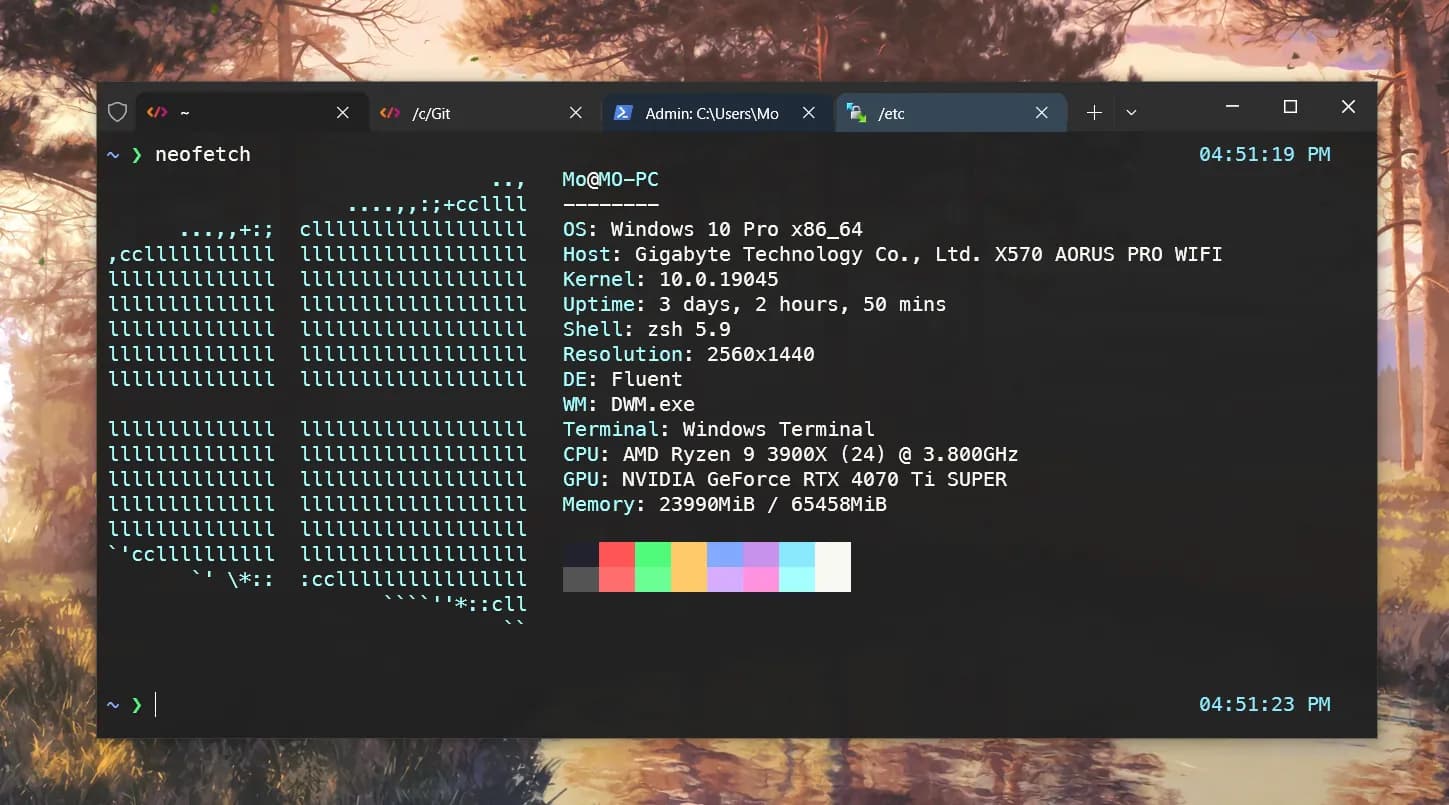
Git Bash: The Chosen One
I have been an avid user of Git Bash for a long time now. It is a Bash emulation solution for Windows that is shipped with Git for Windows to make Git easier to use from the command line. When combined with Cygwin, a tool that provides many Windows binaries for common Unix binaries, we have a strong development environment for use with Windows.
Why not use MSYS2 or WSL?
MSYS2 behaves very similarly to Git Bash but has a significantly slower git.exe binary. Therefore, a side installation of Git for Windows is usually required anyway. Use MSYS2 if it offers functionality you need that is missing from Git Bash.
In my experience, WSL tends to perform worse when working with Windows binaries, pathing and features. This is especially true for complicated setups. Furthermore, it requires explicit mapping for the PATH environment variable and all other environment variables. Most of these problems are solved for free when using Git Bash.
Therefore, we will be using Git Bash as our emulation environment of choice.
All of the content of this post is still relevant regardless if you use Git Bash, MSYS2 or WSL.
Use whichever you ultimately prefer.
Installing Git for Windows
To begin, let's install Git for Windows by following the instructions on the official website.
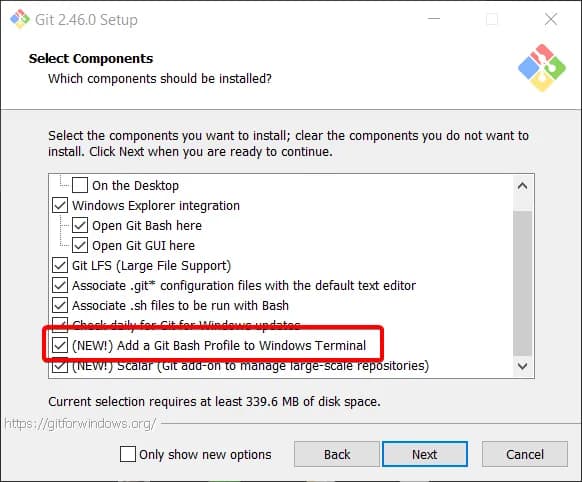
If you have already installed Git for Windows, reinstall in order to select some important options.
Make sure to automatically Add a Git Bash Profile to Windows Terminal (more on this later):
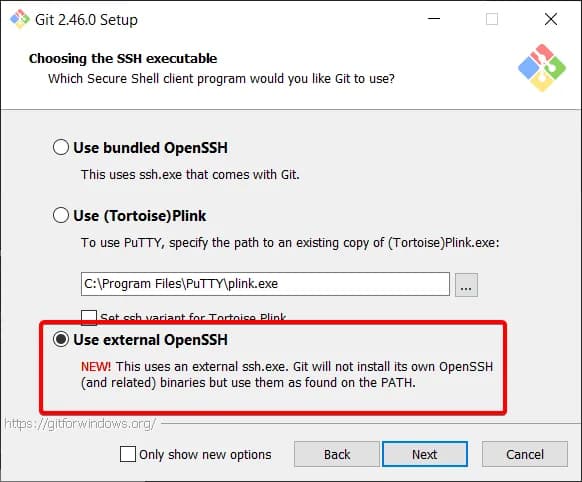
Also, make sure to tell Git Bash to Use external OpenSSH (more on this later):
Installing zsh (Optional)
This step is optional but highly recommended.
Skip this step if you want to just use bash instead.
Let's install Zsh, Oh My Zsh and the powerlevel10k theme into our Git Bash environment.
Installing zsh
- Download zsh binaries from MSYS2 Package Repository
wget https://mirror.msys2.org/msys/x86_64/zsh-5.9-2-x86_64.pkg.tar.zst - Extract the contents of the
.tar.zstfile into your Git for Windows folder (commonlyC:\Program Files\Git) file using a tool like 7-Zip - Open
git-bash.exeand validate the installation by running:zsh --version
Installing oh-my-zsh (optional)
Oh My Zsh is a powerful theme and plugin framework for zsh. You can follow the instructions on the oh-my-zsh Github repository.
- Execute curl installer script.
sh -c "$(curl -fsSL https://raw.githubusercontent.com/ohmyzsh/ohmyzsh/master/tools/install.sh)" - Follow the prompts to finish installation.
Installing powerlevel10k (optional)
The powerlevel10k theme can make your shell look even prettier! You can follow the instructions on the powerlevel10k Github repository.
- Execute:
git clone --depth=1 https://github.com/romkatv/powerlevel10k.git ${ZSH_CUSTOM:-$HOME/.oh-my-zsh/custom}/themes/powerlevel10k - Edit the
~/.zshrcfile (it is located in your home directory). - Change the following line to set the theme:
ZSH_THEME="powerlevel10k/powerlevel10k" - Optional but highly recommended: Install the MesloLGS NF font by following these instructions. Configure Windows Terminal to use this font for your Git Bash profile using powerlevel10k.
- Restart your shell and follow the prompts to finish installation.
Integrating Git Bash with Windows Terminal
You should have a Git Bash profile already created for you from the Git for Windows installer. We want to spawn our shell of choice directly for maximum performance.
bash
If you are using bash, you can leave the command line executable as is in Windows terminal:
C:\Progra~1\Git\bin\bash.exe --login -izsh
If you are using zsh, change the command line executable in Windows terminal to:
C:\Progra~1\Git\usr\bin\zsh.exe --login -iYou will likely also need to modify /etc/profile in your Git for Windows directory and comment out the profile_d sh line for the code that detects the zsh shell via $ZSH_VERSION. This avoids sourcing any of the .sh files in /etc/profile.d. If you need any of them, copy them to a .zsh file of same name in the same directory.
Compatibility
Some binaries and terminal integrations may not work well with Git Bash. One example is VS Code's terminal integration.
This can potentially be fixed by setting the following environment variable while spawning the shell:
"environment":
{
  "TERM": "cygwin"
}
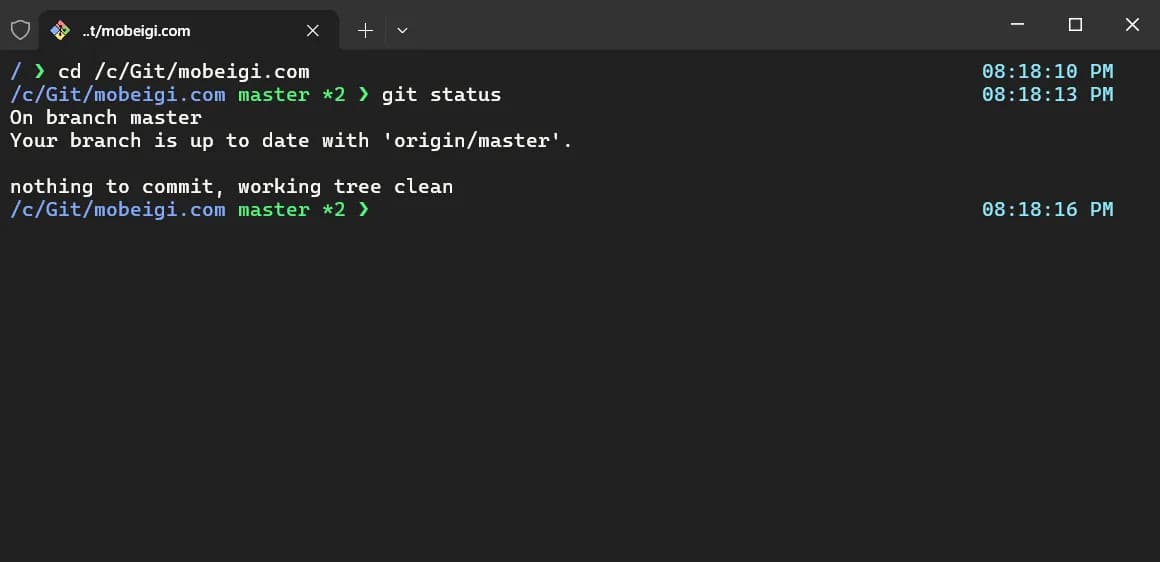
A beautiful terminal
Your terminal should now look beautiful!
Pro-tip: Check out the Windows Terminal Themes website for some great looking themes.
Integrating Git Bash with OpenSSH
We want to make sure we always use Windows OpenSSH as our main SSH agent. This simplifies our setup going forward.
To do this, we utilise a newer feature of Git for Windows during the installation. Traditionally, Git for Windows would provide its own ssh.exe binaries for us to use. However, we'd much rather it detect and use the OpenSSH binary declared on the path.
Ensure you enabled the Use external OpenSSH option during the installation of Git for Windows.
Note: You must also have an entry in your PATH environment variable pointing to:
c:\windows\system32\openssh\Integrating Pageant with OpenSSH
I enjoy using Pageant (from the PuTTY family) to load up my SSH keys when I need them. It's fast, secure and convenient.
By integrating Pageant with OpenSSH, all our Windows binaries can use the OpenSSH ssh.exe and receive credentials via Pageant seamlessly.
The official documentation is available here.
To set this up, simply run Pageant like so (replacing the path to your SSH folder):
"C:\Program Files\PuTTY\pageant.exe" --openssh-config C:\Users\Mo\.ssh\pageant.confAnd add to the bottom of your C:\Users\Mo\.ssh\config file:
Include pageant.confThis will now automatically link up Pageant and Windows OpenSSH via named pipes. OpenSSH is now able to access your pageant SSH keys automatically!
I'd also recommend running Pageant like this on system startup by making a shortcut in this folder:
C:\Users\Mo\AppData\Roaming\Microsoft\Windows\Start Menu\Programs\StartupFinally, we want to set our GIT_SSH environment variable to point to OpenSSH to tell Git which SSH agent we want to use. We set GIT_SSH to:
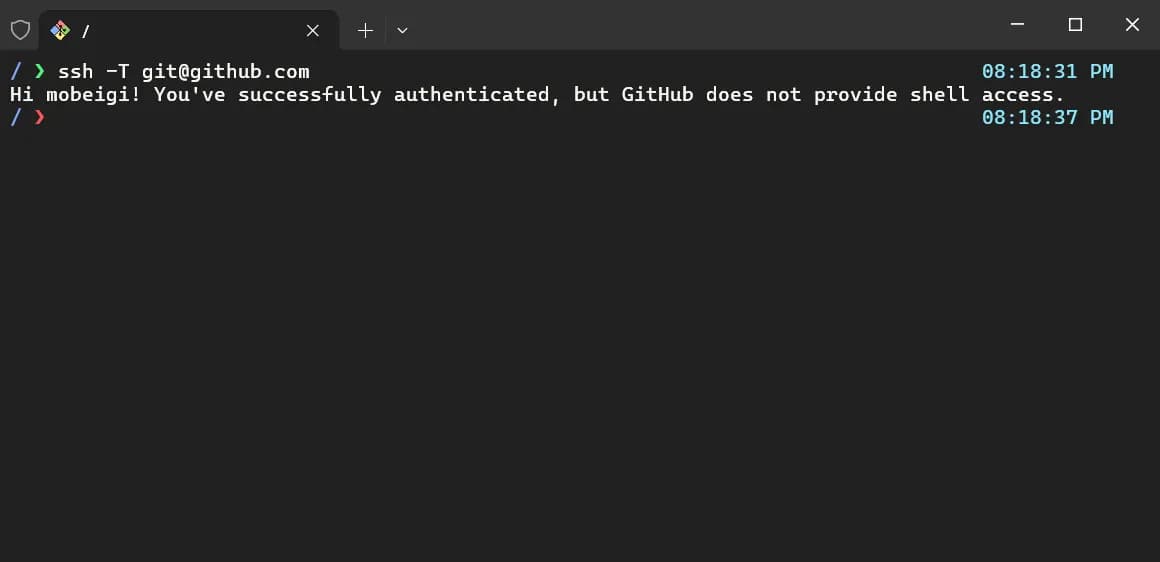
c:\Windows\System32\OpenSSH\ssh.exeAt this point, load up some SSH keys into Pageant and start a Git Bash terminal. You should be able to authenticate with a SSH endpoint. For example, this is me authenticating with Github:
Integrating Git Bash with WinSCP
WinSCP is a fantastic file manager for Windows. I have been using it for forever to manage my server. It allows me to manipulate files through a GUI easily while also spawning one or more shells as needed. Let's configure WinSCP to spawn Windows Terminal shells using our Git Bash profile.
Pro-tip: I'd recommend duplicating your existing Git Bash profile for a special one just for WinSCP. I called mine Git Bash (WinSCP) and changed the icon to the WinSCP icon by setting the icon to the WinSCP executable at C:\Program Files (x86)\WinSCP\WinSCP.exe. I also changed the theme so I can recognise my WinSCP windows quickly compared to local shells.
WinSCP has a page on integration with various terminals here.
In our case, we'd go to Preferences -> Integration -> Applications and set the PuTTY/Terminal client path to:
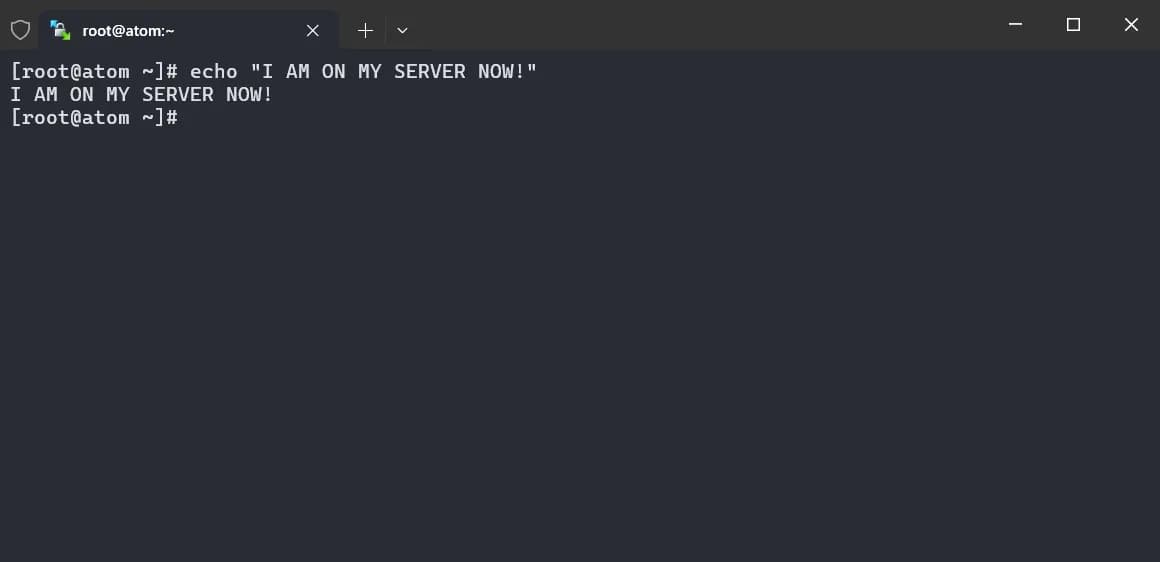
wt.exe --profile "Git Bash (WinSCP)" -- "ssh !U@!@ -p !#"This will spawn a new Windows Terminal shell in a new window running our Git Bash profile and then connect immediately to SSH. If your keys are loaded into Pageant (which they should be for seamless authentication with WinSCP), then this will automatically authenticate you! If you are using password-based authentication for a server or your keys aren't loaded into Pageant, you will be prompted to enter a password.
You can also make the Windows Terminal shell spawn in a new tab for some existing window if you prefer by using:
wt.exe --window 0 new-tab --profile "Git Bash (WinSCP)" -- "ssh !U@!@ -p !#"Check it out in action:
Finito
With Git Bash integrated into Windows Terminal, OpenSSH, Pageant, and WinSCP, you now have an efficient and attractive development environment.
